Home › Advice › Hurricane Protection › Wind Mitigation Inspection Checklist: What the OIR-B1-1802 Form Actually Checks
Wind Mitigation Inspection Checklist: What the OIR-B1-1802 Form Actually Checks
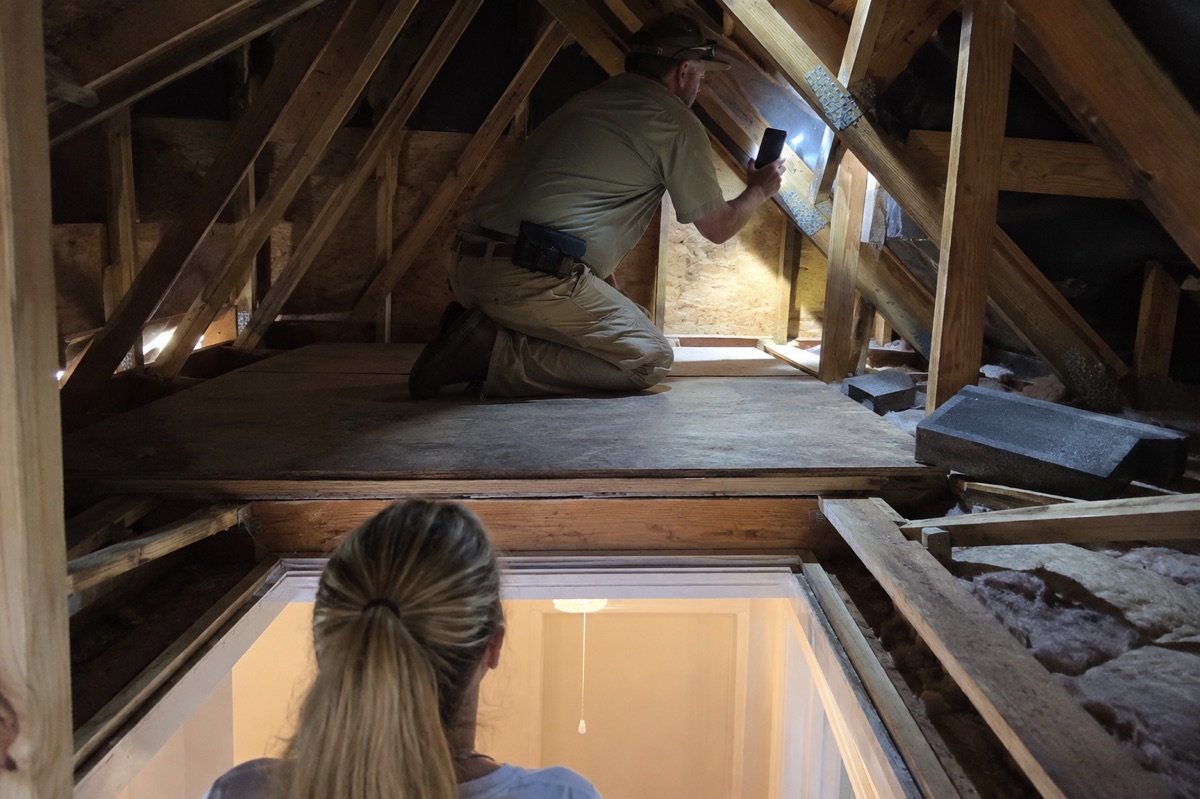
If you own a home in Florida, a wind mitigation inspection is one of the few pieces of paperwork that can directly lower your insurance bill. The inspector fills out a standard state form — the OIR-B1-1802 — that documents how well your home resists wind. Insurers use that form to apply premium credits.
Florida law requires insurers to offer discounts for construction features that reduce hurricane damage, and Citizens Property Insurance notes that these wind loss mitigation credits are applied based on a completed, signed OIR-B1-1802 inspection form — not based on what a product brochure or a contractor's invoice says. The Florida Department of Financial Services publishes consumer guidance on these hurricane loss mitigation discounts as well.
Here is what the inspector actually checks, why one weak spot can wipe out a whole credit category, and how to prepare.
Who can perform the inspection
The OIR-B1-1802 must be completed by a qualified inspector — typically a licensed general, building, or residential contractor, a licensed architect or engineer, a certified building code inspector, or a licensed home inspector who has completed the required wind mitigation training. Ask for the inspector's license number and verify it before booking. In Florida, contractor licenses are checked through the DBPR at myfloridalicense.com.
The seven things the form checks
1. Building code era. When was the home built or permitted? Homes permitted under the 2001 Florida Building Code (effective March 2002) — or, in Miami-Dade and Broward, under the South Florida Building Code from September 1994 — are rated more favorably because the code itself required stronger construction.
2. Roof covering. What the roof is made of and when it was permitted. The inspector looks for documentation that the covering meets the building code in effect at the time of installation. A permit record for the roof matters more here than the shingle brand.
3. Roof deck attachment. How the plywood or decking is fastened to the trusses — nail type, nail length, and spacing. The inspector usually verifies this from inside the attic. Stronger attachment (for example, ring-shank nails at closer spacing) earns a better rating.
4. Roof-to-wall attachment. How the roof structure is connected to the walls: toe nails, clips, single wraps, or double wraps. This is one of the biggest rating factors on the form, and it's also verified in the attic. Hurricane clips and wraps outperform toe-nailed connections.
5. Roof geometry. The shape of the roof. A hip roof — one that slopes down on all sides, like a pyramid — performs better in wind than a gable roof and earns a better rating. The form has specific rules about how much non-hip roof line is allowed before the home loses the hip classification.
6. Secondary water resistance. Whether there's a sealed barrier under the roof covering (such as a peel-and-stick membrane over the deck seams) that keeps water out if the covering blows off. This is usually only documentable if it was installed during a reroof and the paperwork exists.
7. Opening protection. Whether windows, doors, garage doors, and skylights are protected by impact-resistant glazing or code-compliant shutters and panels — and whether the inspector can verify the product ratings from labels or documentation.
The weakest-opening rule
Opening protection is rated as a system, not opening by opening. If one window, one entry door, one skylight, or the garage door is unprotected or can't be documented, the whole category typically drops to "none" — and the opening-protection credit disappears.
This is the most common and most expensive surprise in wind mitigation inspections. Homeowners install impact windows, skip the garage door or a back bathroom window, and earn nothing in that category. Before you pay for protection products, map every opening in the house and plan for all of them. And keep the product labels and paperwork: inspectors need verifiable documentation, not your installer's word.
The same logic applies before you buy: no product "gives you the discount" on its own. Credits depend on your insurer's rating rules and on what the inspection can document across the entire house. Treat any sales pitch that promises a specific insurance discount as a red flag.
Find license-verified shutters-panels roofers →
How to prepare for the inspection
- Pull your permit history. Roof permits, window permits, and the original building permit help the inspector document code era and installation dates. Your county's building department usually has these online.
- Gather product documentation. Window and shutter labels, product approval sheets, and installation invoices. If labels were removed, paperwork is your fallback.
- Clear attic access. The inspector needs to photograph the roof deck nailing and roof-to-wall connections from inside the attic. A blocked hatch can mean an incomplete report.
- Walk the openings yourself. Count every window, door, skylight, and the garage door. Know which are protected and which aren't before the inspector tells you.
- Fix cheap gaps first. If one opening is the only thing standing between you and the opening-protection credit, it may be worth addressing before the inspection rather than after.
Cost and payback
A wind mitigation inspection is a modest one-time expense, and the report is generally good for five years. Because the credits apply to the wind portion of your premium every year the report is on file, homeowners with documented mitigation features often recover the inspection cost quickly. Get quotes from two or three licensed inspectors, confirm their license status, and ask whether attic photos and documentation review are included.
What the report can't do
The form documents what exists — it doesn't certify products, approve construction, or guarantee a discount amount. Credit values vary by insurer, policy, and location. If you're considering upgrades specifically for insurance savings, ask your insurance agent to run the credit scenarios for your policy before you spend, then hire licensed contractors and keep every permit and product document for the next inspection.
Quick answers
- How long is a wind mitigation inspection report valid?
- In Florida, a wind mitigation report on the OIR-B1-1802 form is generally valid for five years, as long as the home's features haven't changed. Confirm with your insurer, since some carriers ask for a new report sooner after major work like a roof replacement.
- Do I have to protect every window and door to get the opening protection credit?
- Generally yes. Insurers rate opening protection by the weakest opening on the house. One unprotected window, entry door, garage door, or skylight can drop the entire opening-protection category to \"none,\" so partial coverage usually earns no credit in that category.
- Can a wind mitigation inspection raise my premium?
- The form documents mitigation features to qualify you for credits; insurers use it to apply discounts you're entitled to. If the report finds fewer features than your policy currently assumes, your rating could be adjusted, so it helps to know your home's features before you order the inspection.
Keep your home plan moving
Get the free Seasonal Home Maintenance Schedule
Month-by-month checklist for your state — roof, gutters, HVAC and more. Plus license-lapse alerts for contractors you're considering.
We don't sell your email address. See our privacy policy.
Sources
- Discounts on Wind Loss Mitigation — Citizens Property Insurance Corporation
- Florida Department of Financial Services — Premium Discounts for Hurricane Loss Mitigation — Florida Department of Financial Services